Introduction
A well-constructed masonry walkway can elevate the aesthetics of any property. Not only does it provide a functional path from one point to another, but it also adds value and charm to your outdoor space. If you’re considering adding a masonry walkway to your home or garden, you're in for a treat! In this Step-by-Step Guide to Installing a Masonry Walkway, we’ll walk you through everything from planning and design to the final touches.
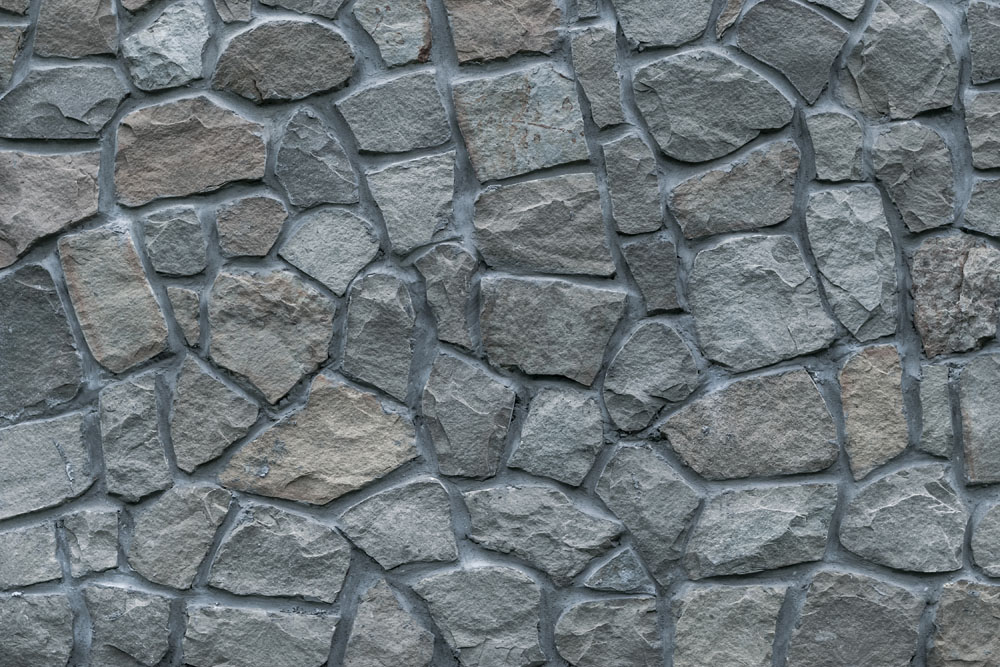
What is a Masonry Walkway?
Masonry walkways are pathways constructed using durable materials such as bricks, stones, or concrete pavers. These materials not only offer durability but also allow for creativity in design. Whether you want a rustic look with natural stones or a more polished finish with bricks, masonry walkways can fit any style.
Why Choose Masonry for Your Walkway?
Choosing masonry for your walkway has numerous benefits:
Durability: Masonry withstands various weather conditions and heavy foot traffic. Aesthetic Appeal: It offers an elegant and timeless look that enhances curb appeal. Low Maintenance: Once installed, masonry requires minimal upkeep compared to other materials.Planning Your Masonry Walkway
Assessing Your Space
Before diving into installation, take an honest assessment of your space. Measure the area where you intend to build the walkway, noting any obstacles like trees or existing structures.
Determining Pathway Design
What kind of look are you going for? Here are some design ideas:
- Straight Path: Simple and effective. Curved Path: Offers a more organic feel. Patterned Design: Use different colored bricks for added flair.
Setting Your Budget
It's essential to set a budget before starting your project. Consider costs for materials, tools, and potential labor if you choose to hire professionals.
Tools and Materials Needed
Before you start laying down bricks or stones, gather all necessary tools and materials:
Essential Tools
Shovel: For digging out the pathway. Level: To ensure even surfaces. Rubber Mallet: For gently settling stones without damage. Trowel: For spreading mortar if needed. Measuring Tape & String Line: For accurate measurements.Recommended Materials
- Bricks/Stones/Pavers: Choose based on desired aesthetic and budget. Sand/Gravel Base: A solid base is crucial for longevity. Landscape Fabric (Optional): Prevents weeds while allowing drainage.
Step-by-Step Guide to Installing a Masonry Walkway
Step 1: Marking Your Pathway
Use stakes and string lines to outline your pathway clearly. This step ensures that you have a visual reference for where your walkway will go.
Step 2: Digging the Trench
Dig out the marked area approximately 4–6 inches deep. Make sure the trench is wider than your chosen material's width; typically about 12 inches will suffice.
Step 3: Creating the Base Layer
Layer gravel first; this helps with drainage and stability. Compact it well before moving on to sand—this layer should be about 1–2 inches thick.
Step 4: Laying Down Your Material
Start laying down your bricks or stones from one end of the pathway:
- Begin at one end Place each piece snugly against its neighbor Use the rubber mallet if necessary
Tips for Laying Stones
- Alternate colors or shapes for variety Keep an eye on alignment; small adjustments now save headaches later!
Step 5: Filling Gaps with Sand or Mortar
Once all pieces are laid down, fill in gaps between stones with sand or mortar:
Final Touches on Your Masonry Walkway
Sealing Your Walkway
Consider sealing your masonry walkway after construction is complete:
- Protects against stains, Enhances color, Extends life span.
Adding Edging
Adding edging can help maintain the shape of your walkway:
Choose materials like timber or metal edging. Install them along both sides of your path.Maintenance Tips for Masonry Walkways
To find a masonry contractor keep your masonry walkway looking its best:
Regularly sweep away debris. Rinse with water occasionally. Check for loose stones or cracks periodically. Reapply sealant every few years as needed.Common Mistakes When Installing Masonry Walkways
While installing your own masonry walkway can be rewarding, here are common pitfalls you should avoid:
Skimping on Base Preparation- A poor base leads to uneven surfaces over time.
- Ensure selected materials fit climate conditions; some may crack in cold weather!
- Proper drainage prevents water pooling and potential damage.
Frequently Asked Questions (FAQs)
What type of stone is best for a masonry walkway?
When choosing stone types, consider durability and appearance; granite is highly recommended due to its toughness and beauty!
How long does it take to install a masonry walkway?
The time frame varies based on size but generally expect anywhere from one day up to several days if doing intricate designs!
Can I install my masonry walkway in winter?
Yes, but be cautious! Cold temperatures can affect material performance; use appropriate weather-resistant products if opting for winter installation.
Is it necessary to seal my masonry walkway?
While not mandatory, sealing offers added protection against stains and weather effects—it's recommended especially in harsh climates!
How do I repair cracks in my masonry walkway?
For small cracks, use concrete repair caulk; larger ones may require replacement stones—a professional might be needed depending on extent!
Will plants grow between pavers?
Yes! If you've left gaps wide enough for soil coverage—consider ground cover plants that can flourish while offering beauty alongside functionality!
Conclusion
Installing a masonry walkway can transform your outdoor space into an inviting pathway that enhances both beauty and utility at home! Following this comprehensive guide will equip you with everything necessary—from planning through maintenance—to create something truly special you'll enjoy year after year!
By investing time upfront in proper installation techniques while considering aesthetic choices along the way—you'll ensure longevity while also enjoying increased property value! So roll up those sleeves because it's time to get started on building that perfect pathway today!